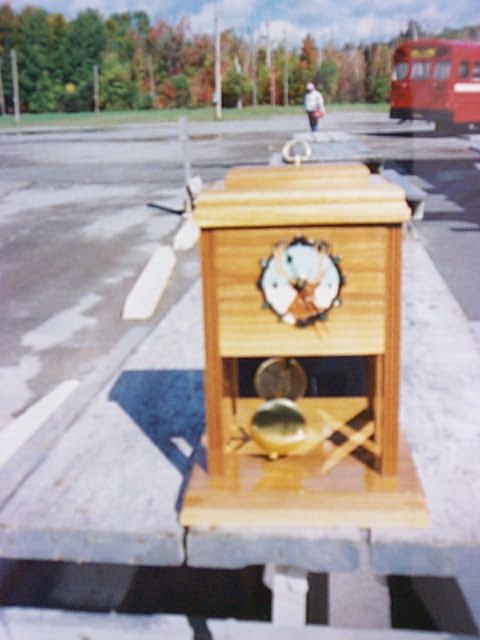
 Homemade Walnut Mantel Clock
This is mine that I build for my roll top desk in my computer room. It chimes on the hour. This has the mirrored glass and what you can do is put your webcam next to the pendulum and watch it from your computer. That is neat. I get all of my clockworks through Klockit in Lake Geneva, WI.
Homemade Walnut Mantel Clock
This is mine that I build for my roll top desk in my computer room. It chimes on the hour. This has the mirrored glass and what you can do is put your webcam next to the pendulum and watch it from your computer. That is neat. I get all of my clockworks through Klockit in Lake Geneva, WI. |
|
SANDING IS A TEEDIOUS JOB
Starting Out I begain using some 60 grit sandpaper.This is used rather lightly on all of the pieces. After everything is totally covered and all the ends and edges are ok I switch to some 100 grit and start the process all over again. You should start to see the real wood grain come out after using the 100 grit. Next I use the 180 grit and really use this till everything is totally smooth. This could take a while. This 180 grit paper should take all the rest of the saw marks out that the other 2 papers didn't. After spending 3 or 4 hours sanding each piece with the 180 grit you should have a surface all most like glass but, not quite yet. Next I use 320 grit. This is the paper to use for a glassy touch. About a half hour on each piece and your ready for making the correctly centered holes for the doweling pieces to make the clock fit together when finished. While doing this a hole has to be drilled for the clockworks to protrude to the from of the clock. You may have to route out a square where the clockworks is mounted from behind the clock face. This is usually done by sticking the clockworks through the hole and tracing the body of the works and then routing out the square that you just have drawn. This should be 3/8" to 1/2" deep into the back of the clock face. Any deeper you will come through the front. That's not good. After the drilling and the routing is done next comes the finishing.
|
|
STAIN OR POLYURETHANE & NOW POLYCRYLIC
Before deciding of a finish a decision has to be made on wheather to cover all the pieces before they are put together or done after the clock has been totally assembled. I do mine after, I use the clear polyurathane to coat my clocks. I like the grain to show after the poly has been applied. I use walnut and cherry and maple wood just for that reason so, the grain is more noticable. When using the poly, the area needs to be as free from dust as possible. S, don't sweep the floor and coat your clock. You won't like the results. I take my time when finishing. I will only do one side at a time. I start out doing the top board of the clock then at the same time do the top and rounded edges of the bottom board. I let each part I do dry overnite. Then the next day use some 400 grit paper to sand out the rough spots and put on a second coat. This can all be done at once if time is a problem. I like doing it sparingly, after the second coat has really dried lay the clock on its back and do the front, covering the faceplate and the front edges. Be careful that your finish doesn't start running. It won't if your careful. Remember to let everything dry overnite before continuing to the side. Always put on 2 coats and after all 6 parts are done, install the clockworks ans a dial or just numbers. I have been cutting a piece of mirrored glass and using that for a back so when the pendulum is moving you can see the double through the mirror. Its pretty neat looking. You can decorate it to your likings like putting lions on the side panel or a ring on the top to carry it by. Its your clock so, tear into it and make it your way.
duell@frontiernet.net
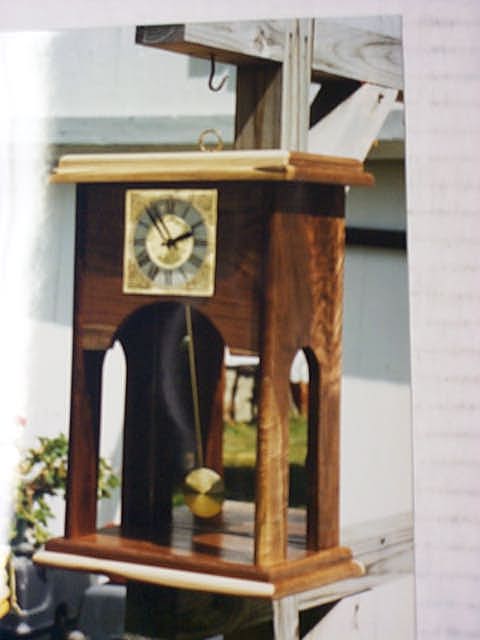
I BUILD MANTLE CLOCKS OF ALL TYPES
If you have a idea of a mantel clock send me a picture and I will build you one. Let me know what style clockworks and finish that you would like and it will be done. I done hurry when I do these. I take my time. When finished Ialways get a picture of the finished product. I have quite an album of woodworking projects that Ihave built.
JIM'S TOY TRUCKS
|
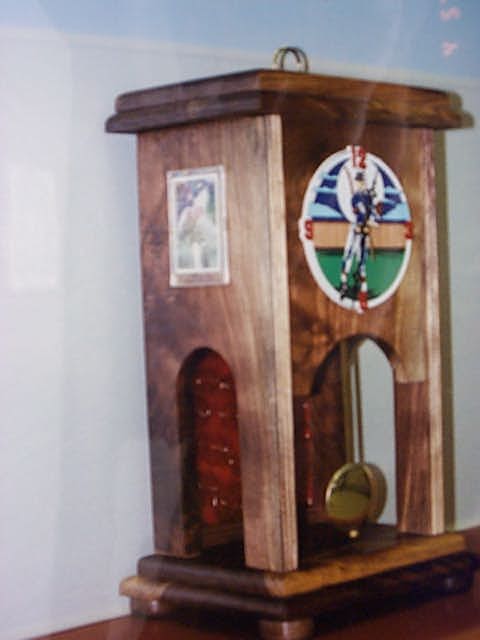 Hand Made Custom Sports Mantel Clock
This clock I made for another raffle. I used a baseball scene dial and put a sports card holder on both sides with a baseball card in both holders. This turned out very nice looking and had a lot of compliments on.
Hand Made Custom Sports Mantel Clock
This clock I made for another raffle. I used a baseball scene dial and put a sports card holder on both sides with a baseball card in both holders. This turned out very nice looking and had a lot of compliments on. |